Joining Videos with Movavi Video Editor
Movavi video editor is More often than not videos aren’t recorded in a single take and are combined afterward to create the final video. As such one of the first things you’ll have to do when you edit your videos is join separate clips together, arrange them in the right order, and possibly remove any parts that you don’t want.
If you have a strict deadline or need creative post production, refer to Fixthephoto video editing services that will help you at affordable prices.
Movavi Video Editor

While joining video clips in itself is really rather simple, the editor that you use could make a world of difference in terms of the options that are available to you. That is why you should definitely try using Movavi Video Editor the next time you want to join any clips together.
Related:
How to Join Videos
Assuming you already have two (or more) videos that you’d like to join, you could launch Movavi Video Editor right now to use it as a video merger. When you do you should select the ‘Create project in full feature mode’ option in the launch window in order to open the editor.

The first step that you will then need to take is to add the videos that you want to join to Movavi Video Editor. To do that click on the ‘Add Media Files’ button, then select all the videos. Alternatively, you could drag and drop the files into the ‘Timeline’ area at the lower part of the interface.
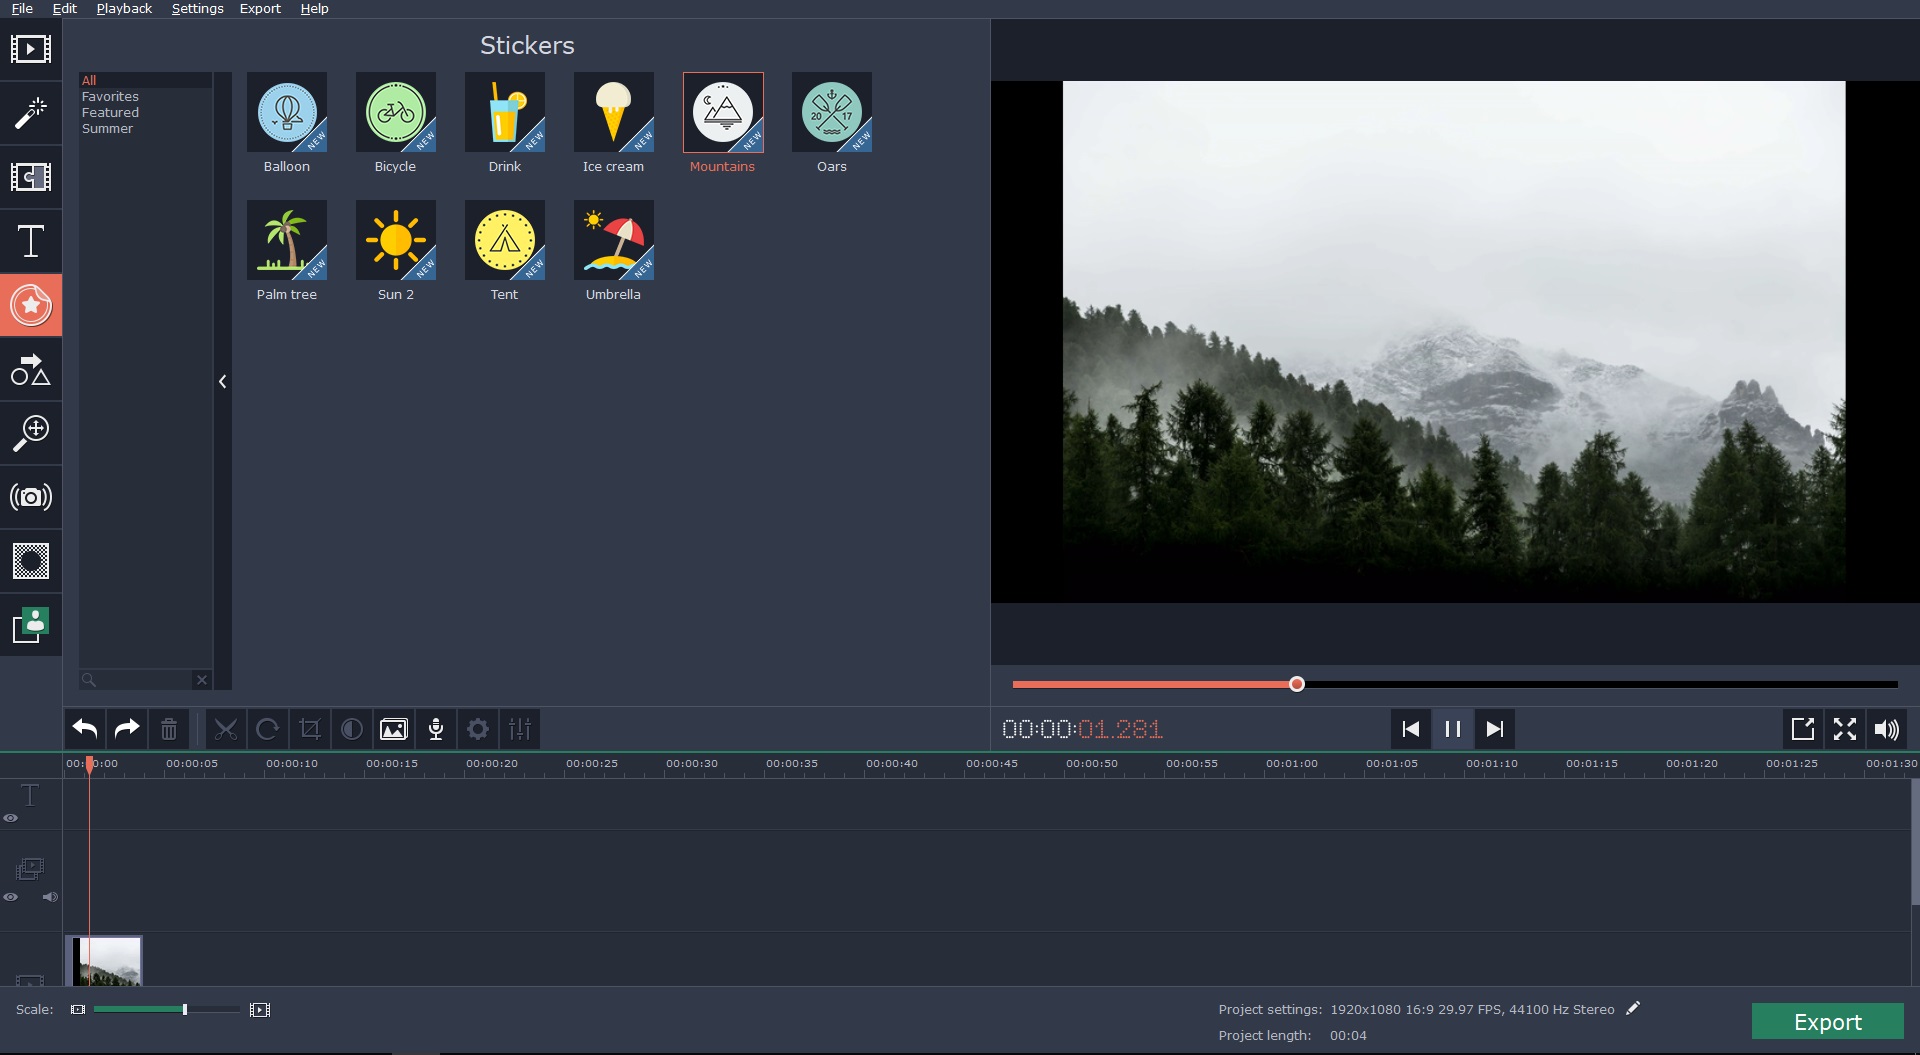
Movavi video editor full version
Regardless of the method that you use to add videos to Movavi Video Editor, they’ll appear in the ‘Timeline’ in the order that they were added. If you want to rearrange them all you need to do is click and drag the videos in the ‘Timeline’ until they’re in the sequence that you want them to be in.
Technically you could click ‘Export’ and save your video at this stage, and you would have joined all the videos together. However instead of doing that you should consider using some of the other features in Movavi Video Editor as well.
Trim Unwanted Parts

In particular one of the main benefits of using Movavi Video Editor is that you will be able to remove any parts of the videos that you don’t want. All you need to do is isolate the segment that you want to remove and then delete it.
To isolate a segment of video using Movavi Video Editor you’ll have to split it, so you should move the marker in the ‘Timeline’ to the appropriate point then click on the ‘Split’ (i.e. scissors) icon that is right above the ‘Timeline’. In some cases, you may have to split a video twice in order to isolate the part that you want to remove.
Once you’ve isolated the video segment, you can click on it to select it then press the ‘Delete’ key on your keyboard. Alternatively, you could right-click the segment and select ‘Delete’ in the window that appears.
Now that you’re able to both join and trim videos, you should be able to compile video content in the same way a professional would. That being said that isn’t all that Movavi Video Editor can do.

If you take full advantage of the features in Movavi Video Editor, you can improve your videos in a variety of other ways. It can help you to enhance the quality of videos, apply filters and effects, add captions, insert audio tracks, and much more.
Simply put it will do far more than help you to join videos, but will actually supply you with everything you need to produce high quality and impressive video content. If you have any doubts, all you need to do is try out Movavi Video Editor and see what it can do firsthand.
